Use CVV Dashboard for two or more students
Add one integration entry for each student. Each entry has its own sensors and calendars. The card can then show one student or a group.
Find the account value
The account option uses the account part of a CVV Dashboard entity ID. To find it:
- Open Developer tools > States.
- Find a sensor that starts with
sensor.cvv_dashboard_. - Use the account part shown in that entity ID as the
accountvalue.
The visual card editor can offer school years from configured Voti sensors. It does not select the account. Set the account value in YAML.
Show students on a Lovelace dashboard
Use a Grid card and add one CVV Dashboard card for each student. Add more cards for larger groups.
type: grid
columns: 2
square: false
cards:
  - type: custom:cvv-dashboard-card
    account: student_one
    vista: combo
  - type: custom:cvv-dashboard-card
    account: student_two
    vista: combo
This example shows two student cards on the same dashboard:
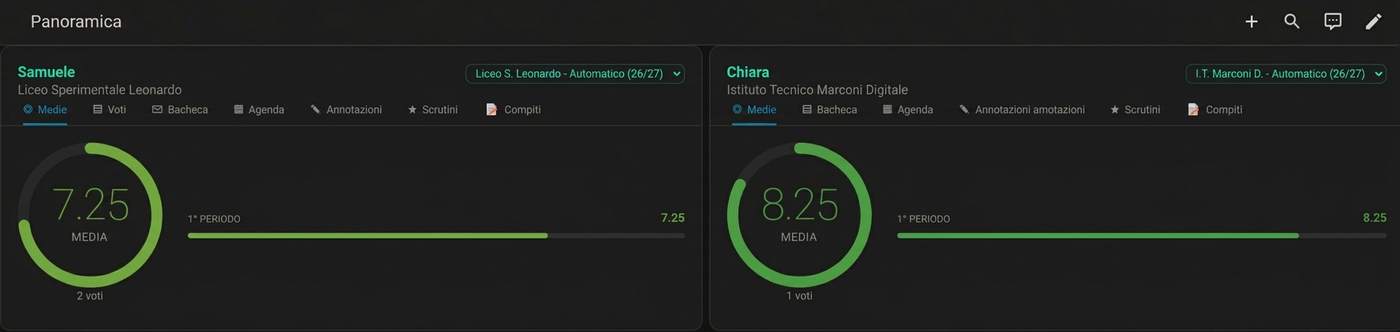
You can set a different vista on each card. For example, show agenda for one student and voti for another.
Use the full-screen student panel
Turn on Mostra nel menu laterale in one integration entry. The panel shows all configured students. Select a student name to open that student's data. Home Assistant remembers the selected student in the browser.
To choose the student order or set display names, add a studenti list to a manual panel_custom entry:
panel_custom:
  - name: cvv-dashboard-card-panel
    url_path: cvv-dashboard
    sidebar_title: CVV Dashboard
    sidebar_icon: mdi:school
    module_url: /cvv_dashboard_static/cvv-dashboard-card.js?v=0.4.4
    config:
      vista: combo
      studenti:
        - account: student_one
          nome: Student One
        - account: student_two
          nome: Student Two
Replace the account values with the values from your entity IDs. Change v=0.4.4 to the installed version after an update so the browser loads the current card file.
If you omit studenti, the panel shows all configured accounts in alphabetical order. Do not use both the automatic sidebar option and a manual panel with the same path.
HACS update alert
On a version that supports this function, HACS can show a yellow ! before the student name on each card and in the student selector. Select it to open the CVV Dashboard page in HACS. HACS must report an update, and the Home Assistant user must have administrator access. Older releases may not have this function.
Separate academic years
You do not need a second integration entry only to look at another year. Use the year selector. Add another entry for the same account only when you need separate sensors and calendars for a specific year.